Top 10 Materials to Consider for a New Backyard Patio
Whether you’re having a backyard barbecue, enjoying the sunrise, or playing scorekeeper for your children’s soccer game; the patio is a rejuvenating aspect of your property. Unless of course, your kids ruin it. Like this picture of a kid that got ahold of some baby oil and let loose on a new concrete paved patio. If you are contemplating putting in a paver patio, you will want to understand which materials are good for you and why.
1. Concrete Pavers
Concrete patio pavers are a favorite among homeowners because they are available in a wide variety of colors, sizes, textures, finishes, and maneuverability. If you are not willing to hire a professional landscaper, you may want to check out this DIY video by Ron Hazelton
The price to Install is $6 – $10 a square ft.
Or check out this article on how to install concrete pavers yourself.
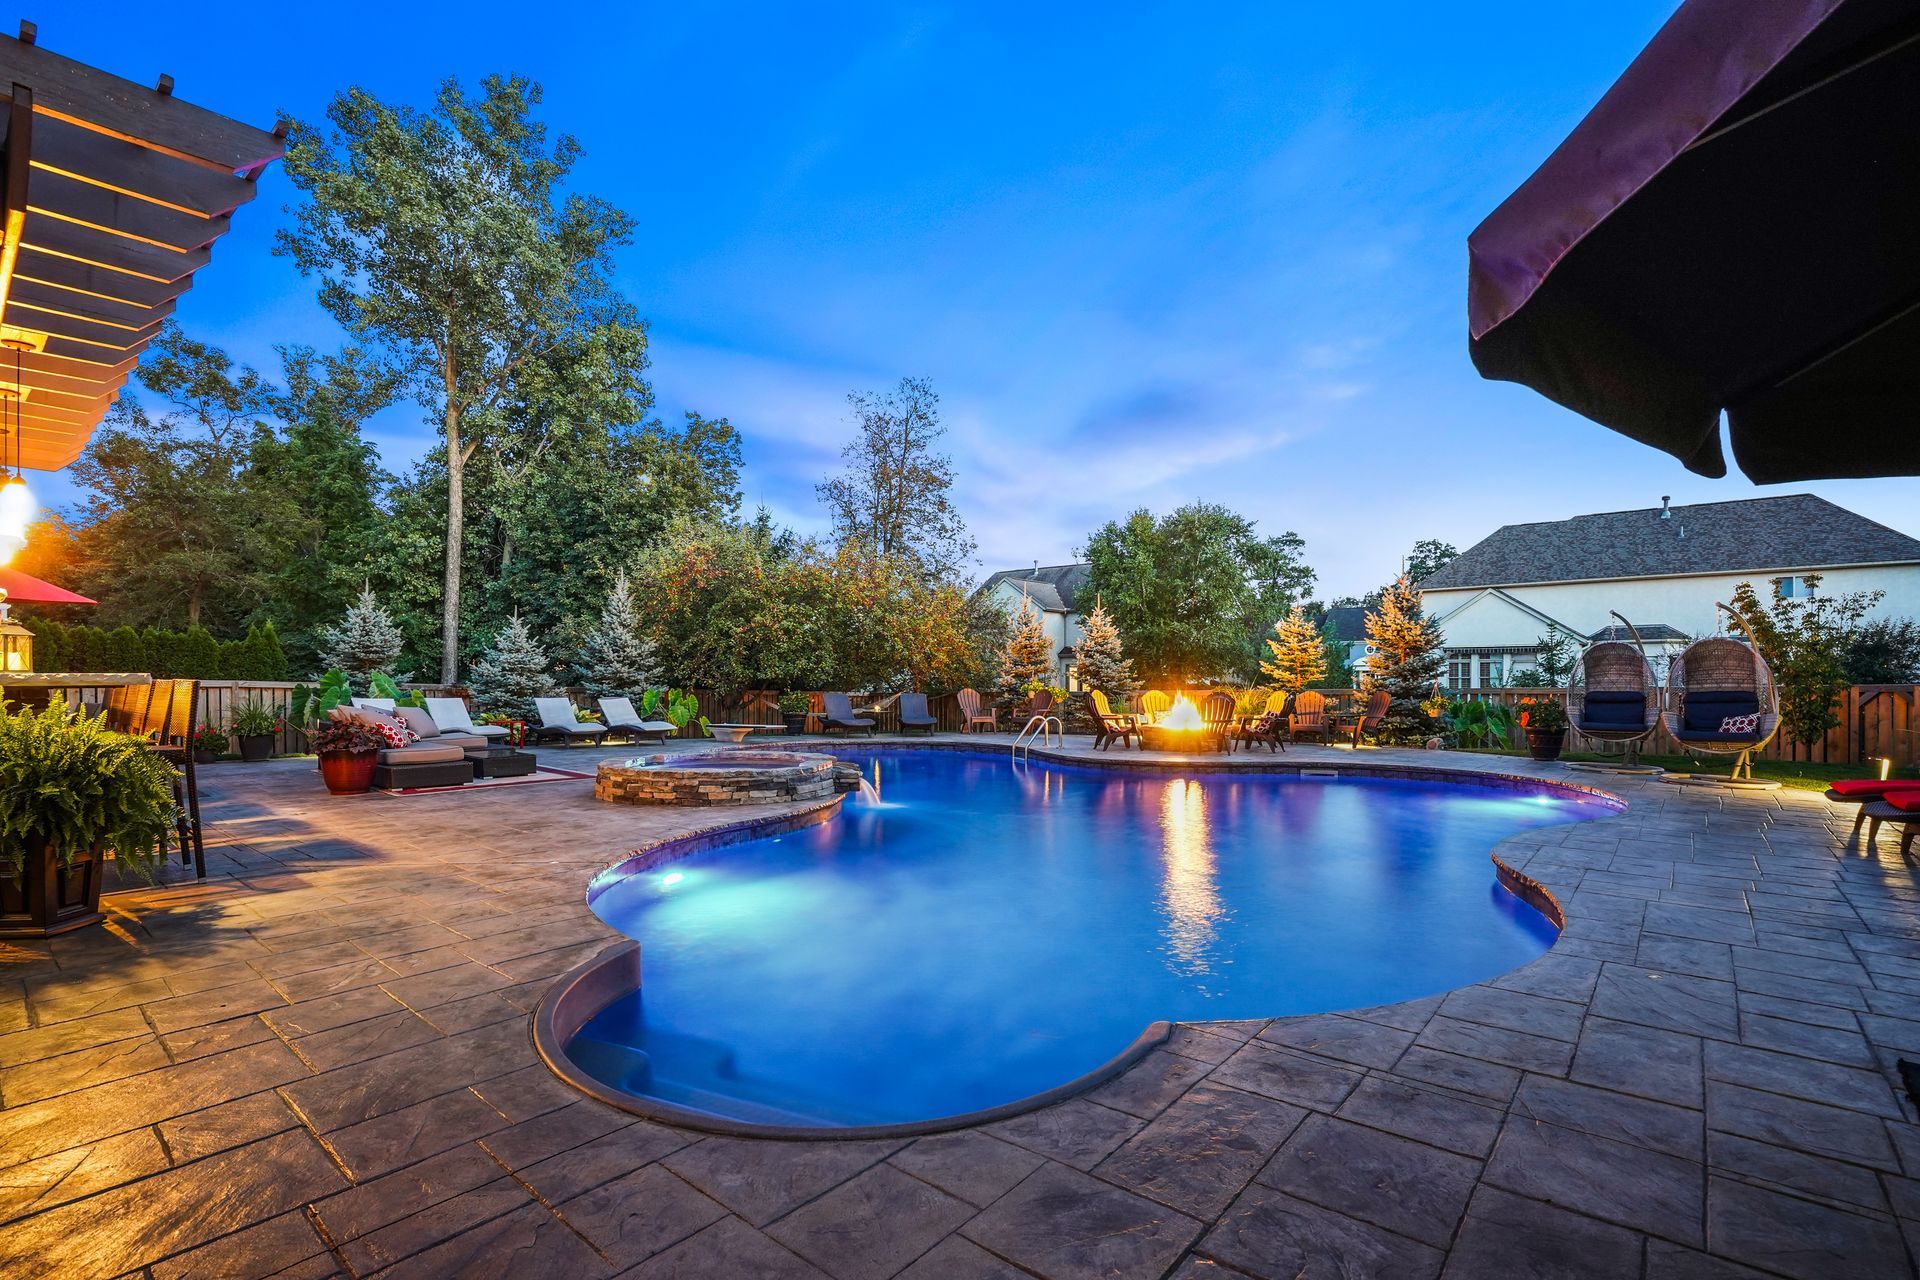
2. Stamped Concrete
If you love the idea of various stones and the versatility of concrete, you will want to consider stamped concrete pavers for your patio.
The price to Install is $11 – $13 a square ft.
Your professional landscaper can design it to look like natural stone, gravel, brick… just about anything you can think of!
3. Brick Pavers
Brick Patio Pavers work well with many different types of houses, because of their uniform shape. Bricks come in many different styles and quality, such as eco brick. Thinking of an outdoor firepit? Keep in mind installing paver patios and fire pits will take some planning and effort.
The price to Install is: $8 – $10 a square ft.
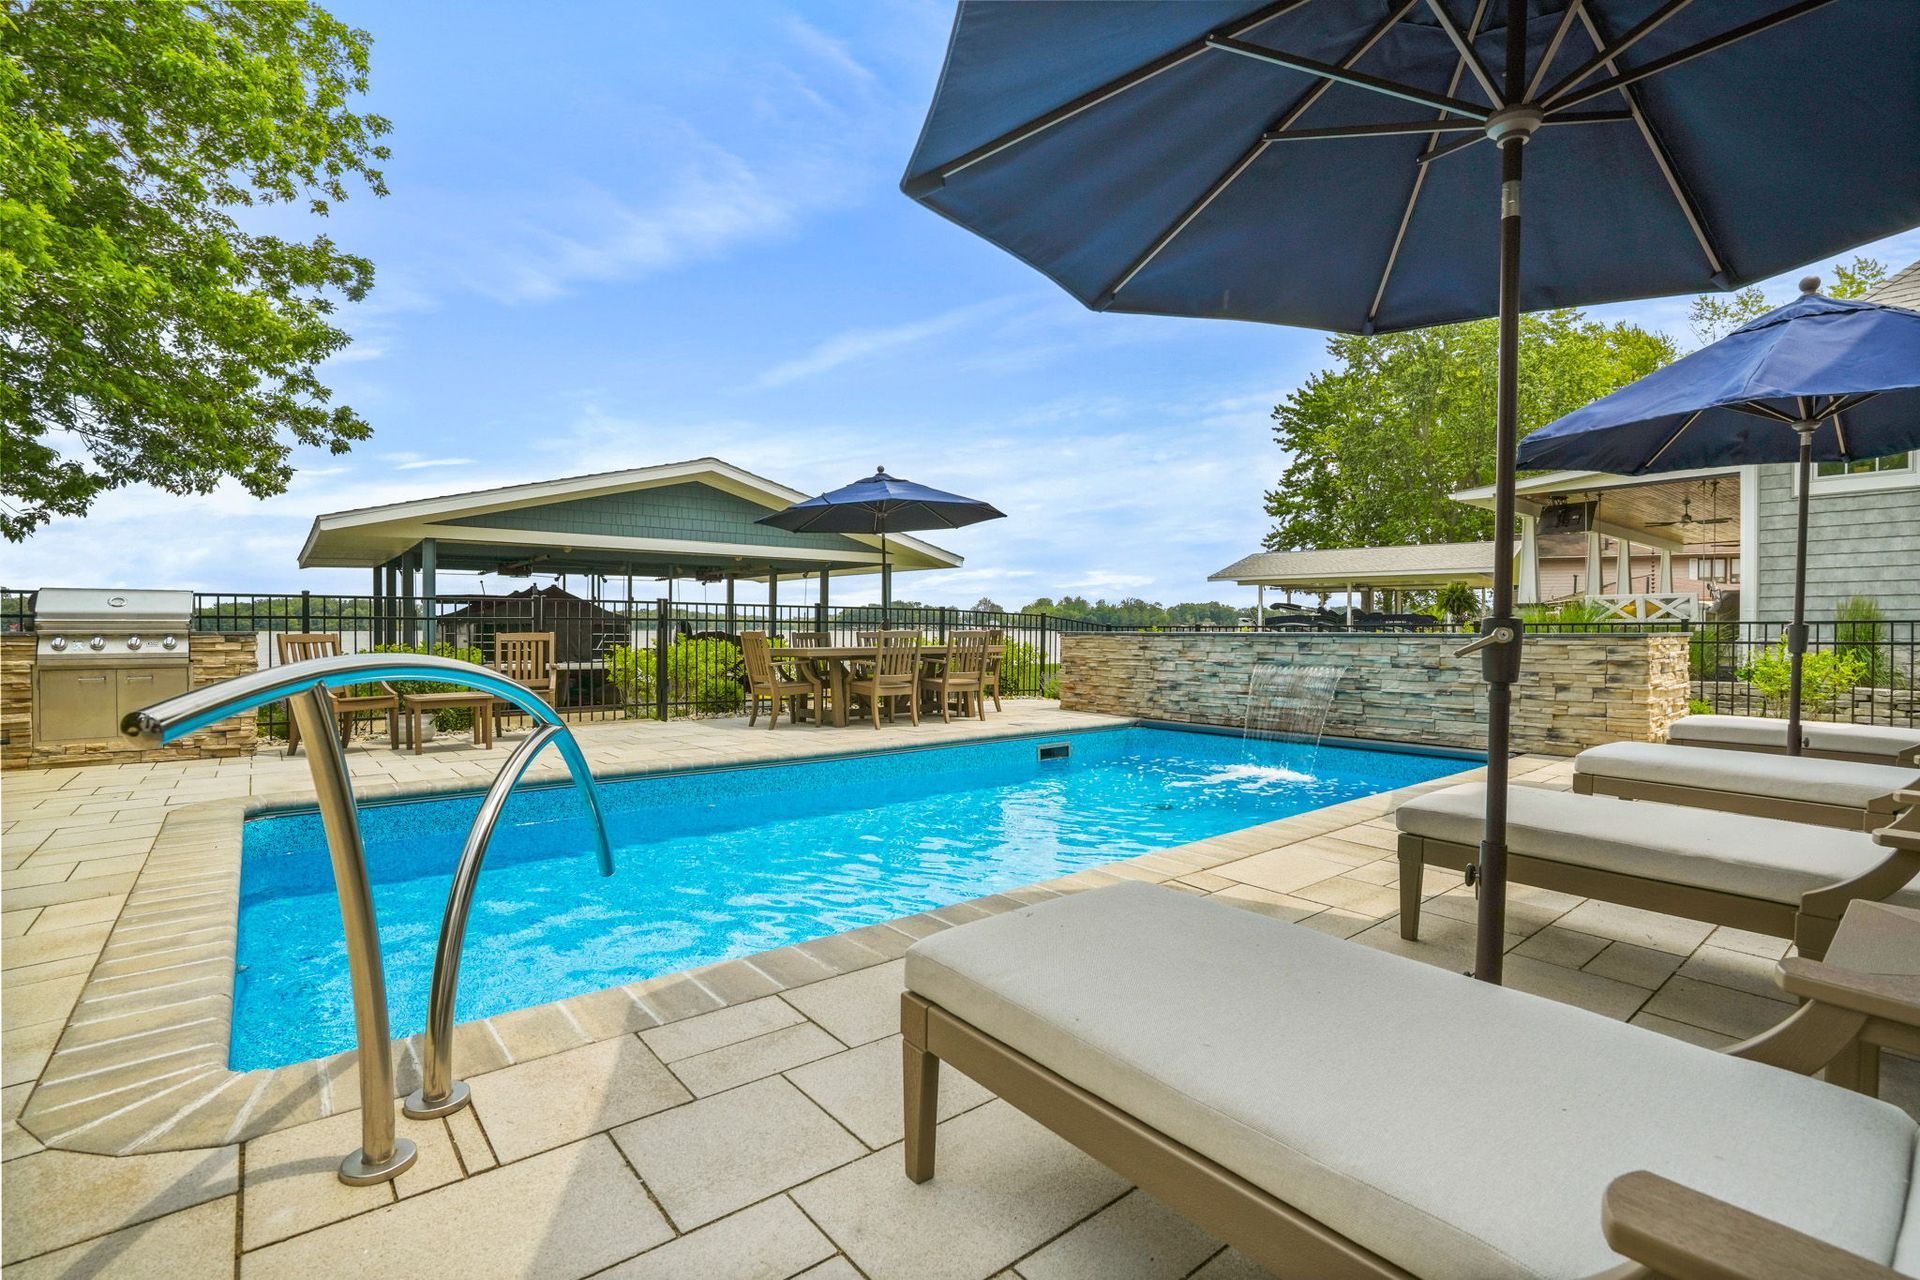
4. Flagstone
If you are looking for an interesting, varied pattern; consider flagstone pavers. Once sealed, it’s cool underfoot and really has a distinguished appearance.
The price to Install is: $16 – $20 a square ft.
Talk to your landscaper about the options available; flagstone patio pavers can be put down on sand, or they can be adhered with mortar.
5. Pea Gravel
While not technically a patio paver material, pea gravel can be integrated into concrete pavers or simply left as a patio material in their own right.
The price to Install is: $.25 – $1 a square ft.
Pea gravel is a flexible, versatile option that can be great for patios that tend to collect water.
6. Slate
If you love the look of natural stone, but can’t afford the high prices of flagstone, you might consider slate patio pavers. While the installation process and the general appeal is similar to that of flagstone, the price is much lower. Usually, slate comes in square or rectangular tiles.
The price to Install to: $16 – $20 a square ft.
7. Rubber Tiles
Rubber tiles have a few good advantages for the new DIY’er
- They are inexpensive
- The tiles snap together, no difficult instructions needed.
- They come in several finishes, and can fit your ideas.
- They are a fairly new material, be innovative!
The price to Install is: $2 – $7 a square ft. (Really depends on the quality)
8. Decomposed Granite
Granite is a natural stone that is often found as a kitchen countertop material. It also makes a great patio material once it decomposes. It can be used as mulch or mixed with resin to create a sturdy, non-eroding patio cover. Find out more about how you can use decomposed granite in your landscaping or hardscaping plan.
The price to Install is: $4 – $6 a square ft.
9. Wood
Between regular timber and wood alternatives, there are several options for those who enjoy the look of wood. You will need to keep your climate and the location of the patio in mind, as patios that get very wet (and stay that way) might not do well with wood or wood-based material. Still, it’s a good material to keep in mind if you enjoy a rustic appearance on your outdoor living area.
10. Recycled Material
If you pride yourself on being green or being a salvage king or queen, you might be interested in salvaging materials to use as your own recycled patio pavers. You could scavenge old concrete, brick or natural stone from construction or demolition sites, or just by asking around to people who you know are putting new hardscapes in their own yards. This could make a great DIY project, and the appearance is bound to be one-of-a-kind. make sure you correctly seal your paver patio.
Prices Vary but are Relatively Inexpensive
Your professional landscaper or hardscape company can give you some great advice regarding whether a particular paver collection is appropriate for your unique project. Keep your options and your mind open as you consider various patio pavers!
OMNI LEARNING CENTER
RECENT POSTS